Crankcase Rev

Recently I wanted to take a closer look at Crankcase’s “Rev” granular engine tool. I had always been aware of this tool but never actually used it for myself. I have some experience with proprietary engine granular audio tools that are very similar but I wanted to explore this publicly available tool and try to get a simple vehicle project stood up in Unreal.
Shortly after starting to look for information on the subject I realized that almost every online tutorial about vehicle audio talks about loop based audio implementation. This felt like an opportunity to share this information with the community as more of a holistic look at vehicle audio for games.
Keep in mind though, if you’re looking to use Crankcase Rev for professional work or a released project, you will need to obtain a paid license.
**Spoilers, this is not a difficult process but requires contacting Audiokinetic for a license. I’d suggest getting that process started as it may take a few days. **
Alright - now lets get into how we can get Crankcase’s Rev setup in Unreal Engine’s Vehicle Template
Go here and download the Rev Authoring Tool:
https://www.crankcaseaudio.com/download
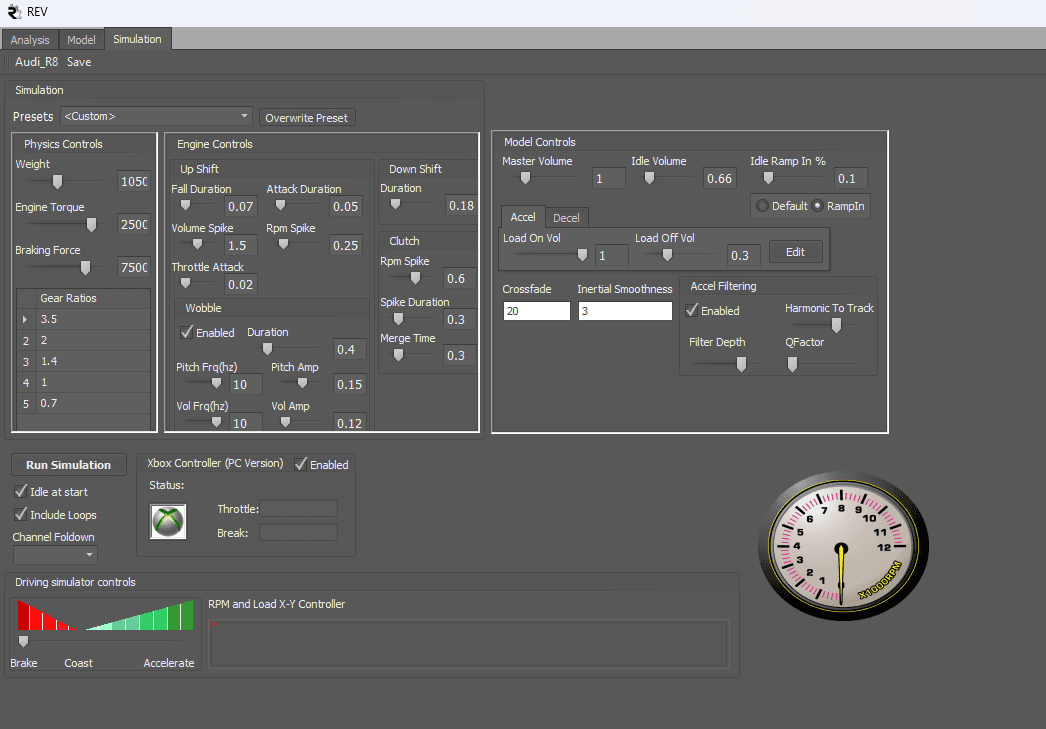
You can grab the Vehicle simulator if you want, but this should come with the Rev Tool which will allow for offline previewing and can help validate sounds before implementation.
Here you can go here to see some older videos on how this works:
https://www.crankcaseaudio.com/works
With the authoring tool downloaded, this should come with a user guide - it explains Rev well enough, and I recommend reading it as this will take you through a more in depth guide of the tool itself, but it does not explain how to get this running in a game engine and that’s what I’m hoping to cover here.
Create a Wwise project:
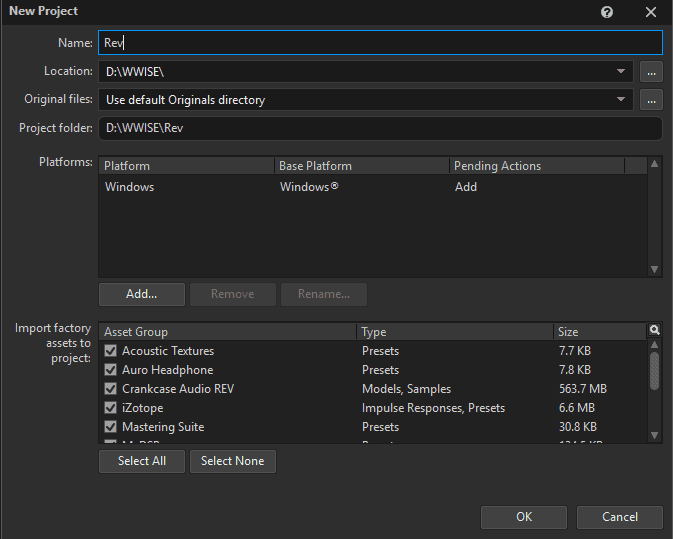
You can use the default sample content, or create a new Sound SFX from the Default Work Unit
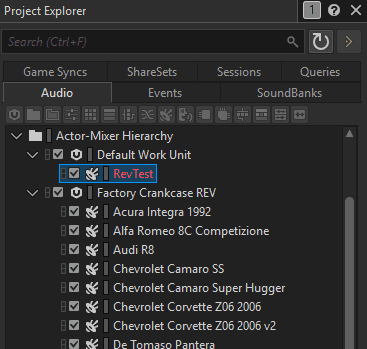
If you’re making a new Sound then after you create it, Add Source, and choose Crankcase Rev.
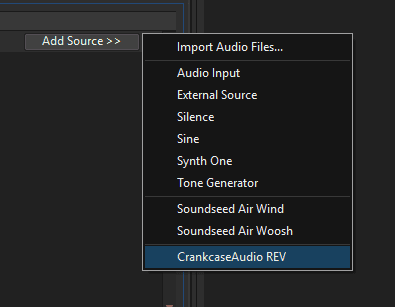
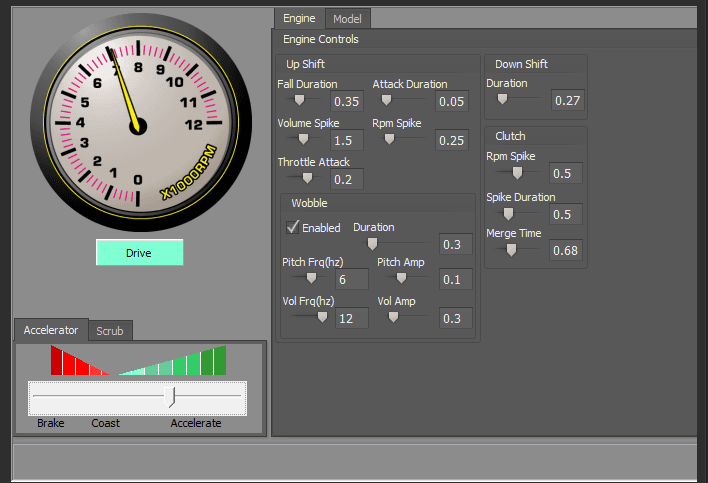
This will add the source and expose its settings within the sound.
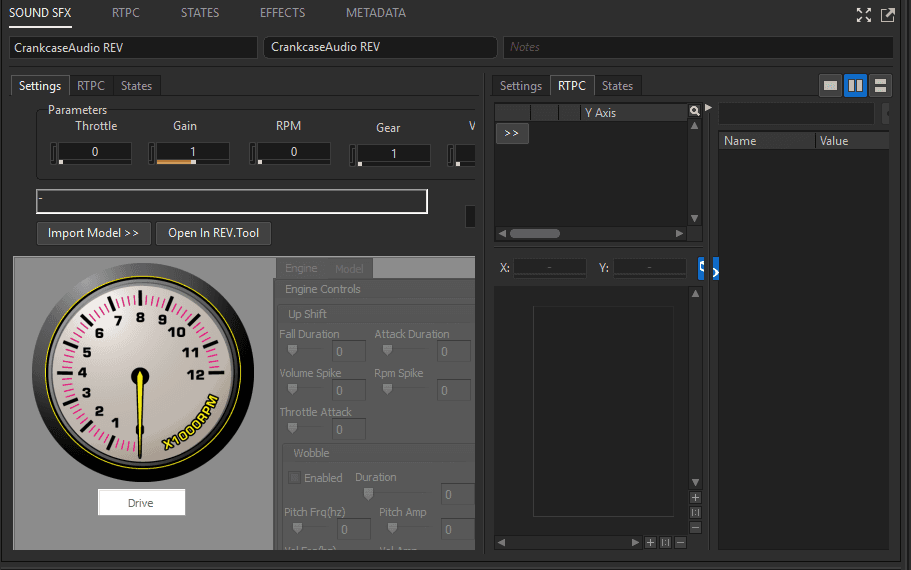
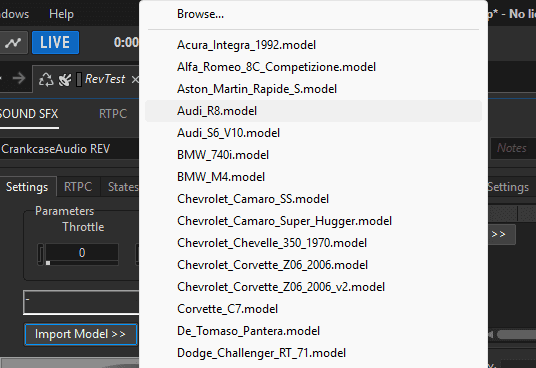
It does not yet have any model imported. Again, I’m not going to get into that here, but we’ll just select one of the factory presets for testing.
Select “Import Model”, and choose a sound you like.
To hear the sound, once the model is imported. Play the sound in Wwise (space bar).
This should start the idle loop, and you should notice the “Drive” button becomes clickable. Once clicked the “Accelerator” becomes visible and you can drag the throttle value around to test the sound further.
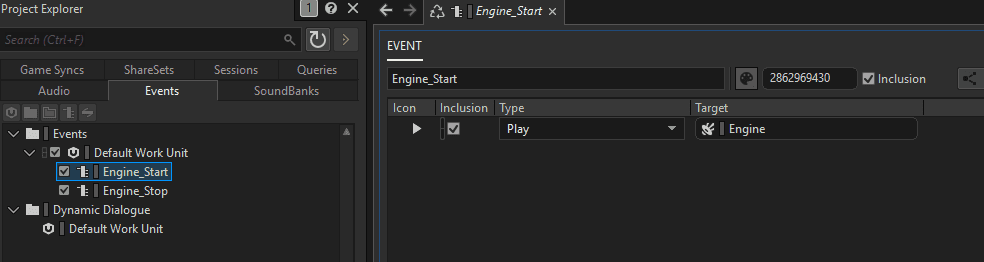
At this point, you just need to setup some basic events and parameters and you’re basically done.
So it’s all easy up to this point - so why has no one done a tutorial or guide on this implementation yet?
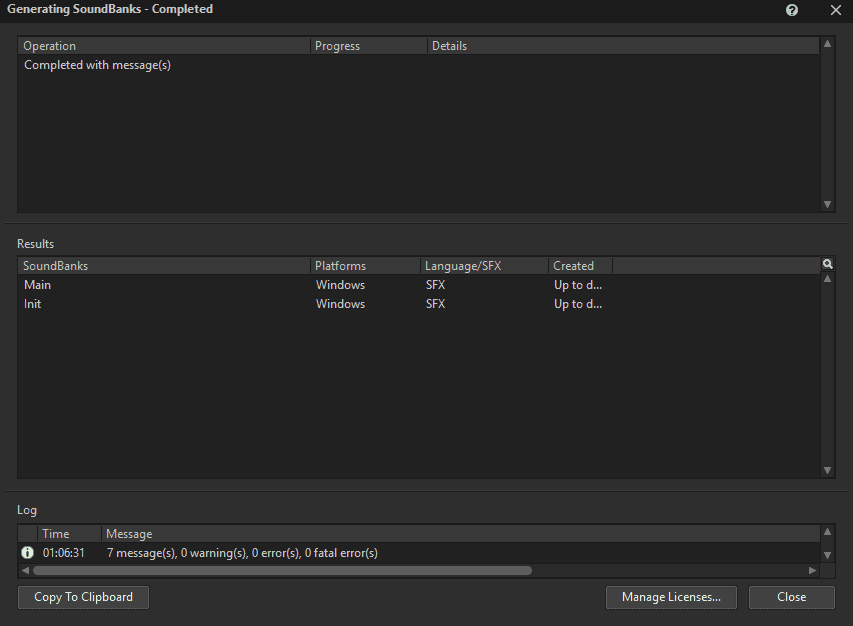
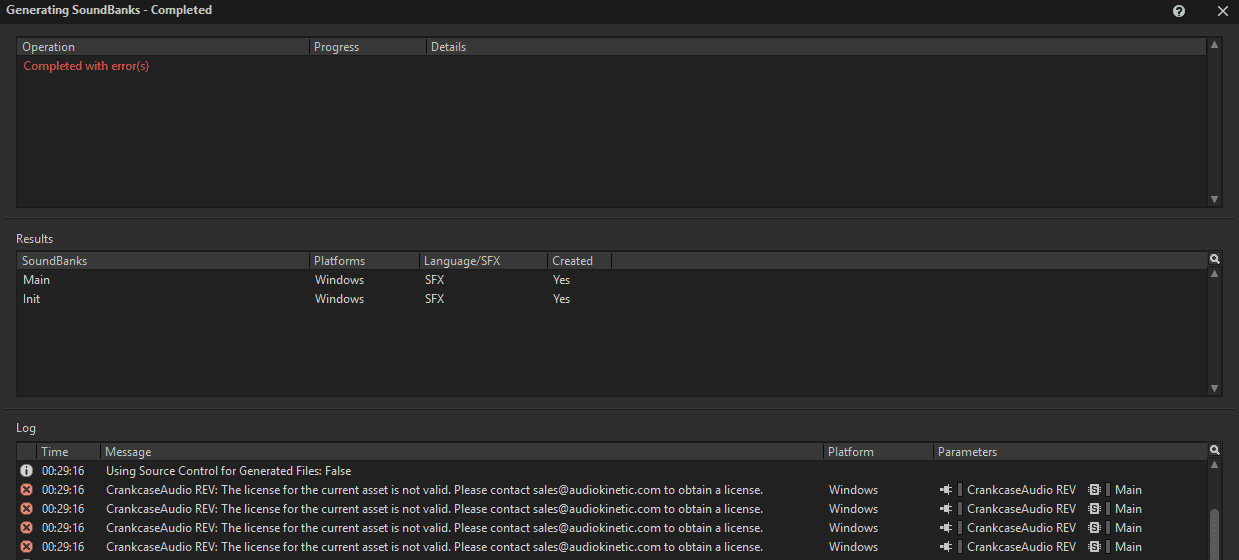
Well I suspect it’s because of this, if you try and generate soundbanks now, you’ll get an error.
It will say that you have to contact sales@audiokinetic.com and ask for a license.
If you contact sales, they will provide you a link which will allow you to select multiple licenses. Here, you’ll want to select the license for “CUBE - Wwise 101, 201, and Portfolios”
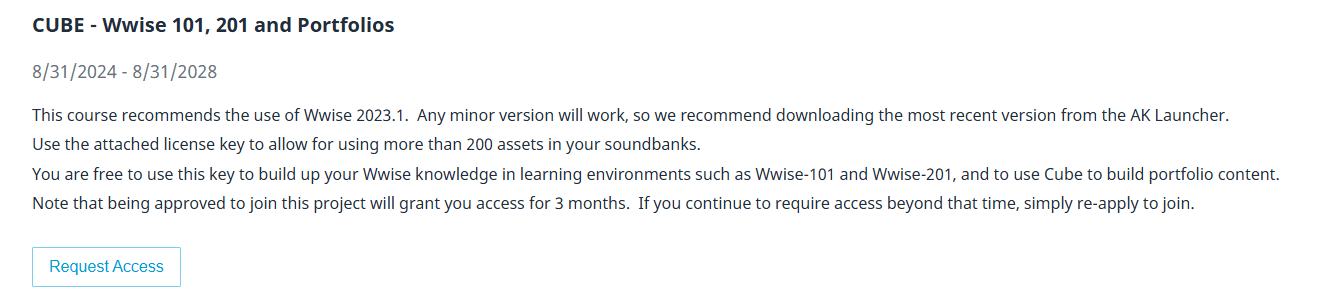
It may seem odd to request access for the “Cube” demo, but this will gain you access to all licenses for portfolio material - including Crankcase Rev. At this point you just need to wait for a response.
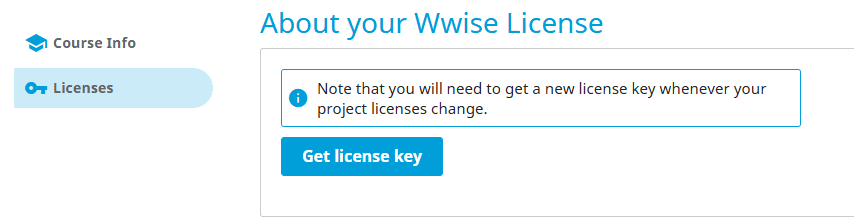
Once you’ve been granted a license, if you click on your profile on the Audiokinetic page and go to “My Projects” - you should see “Wwise 101, 201, and Portfolios”- and on the left, a “Licenses” tab.
Click on the “Get License Key” and then copy the provided string to the clipboard.
Back in Wwise, click on the Project > License Manager. Then in the dialog select “Paste from clipboard”
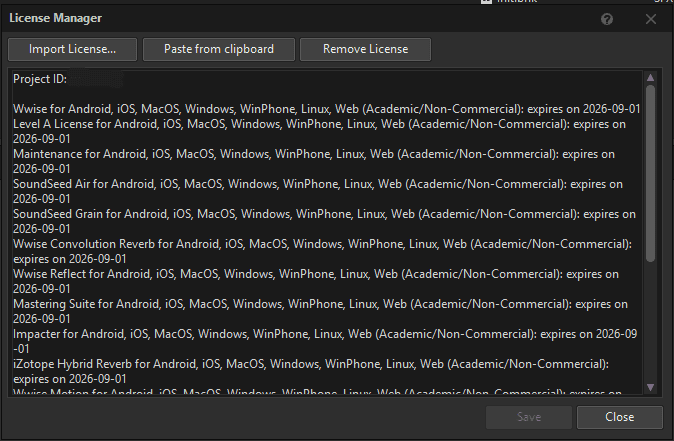
At this point you should now be able to generate soundbanks without errors and we should be good to create the project in Unreal.